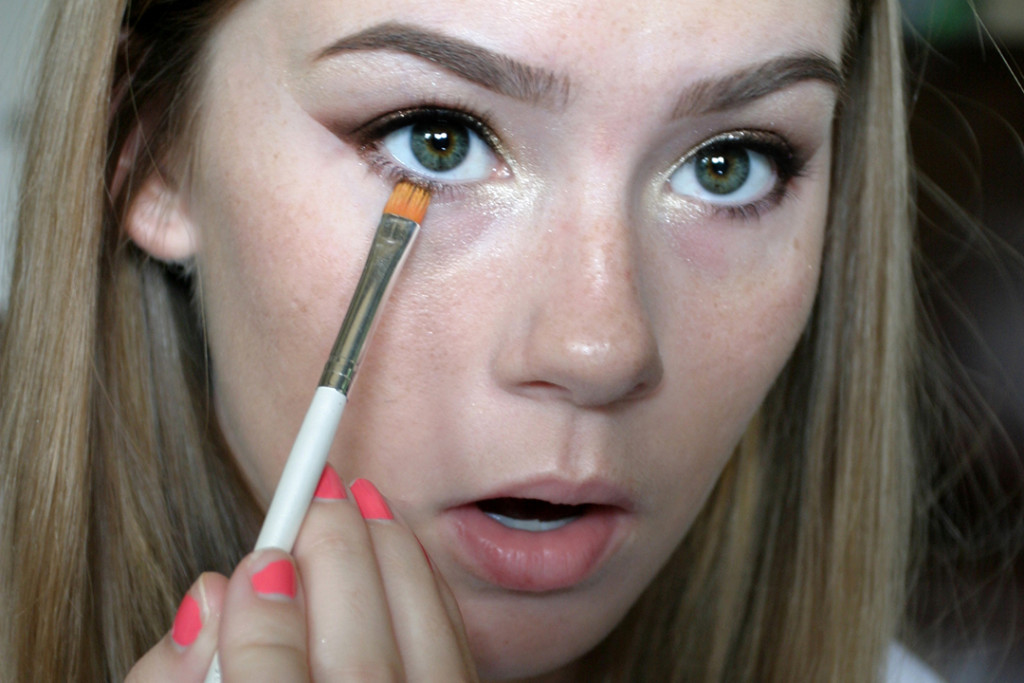
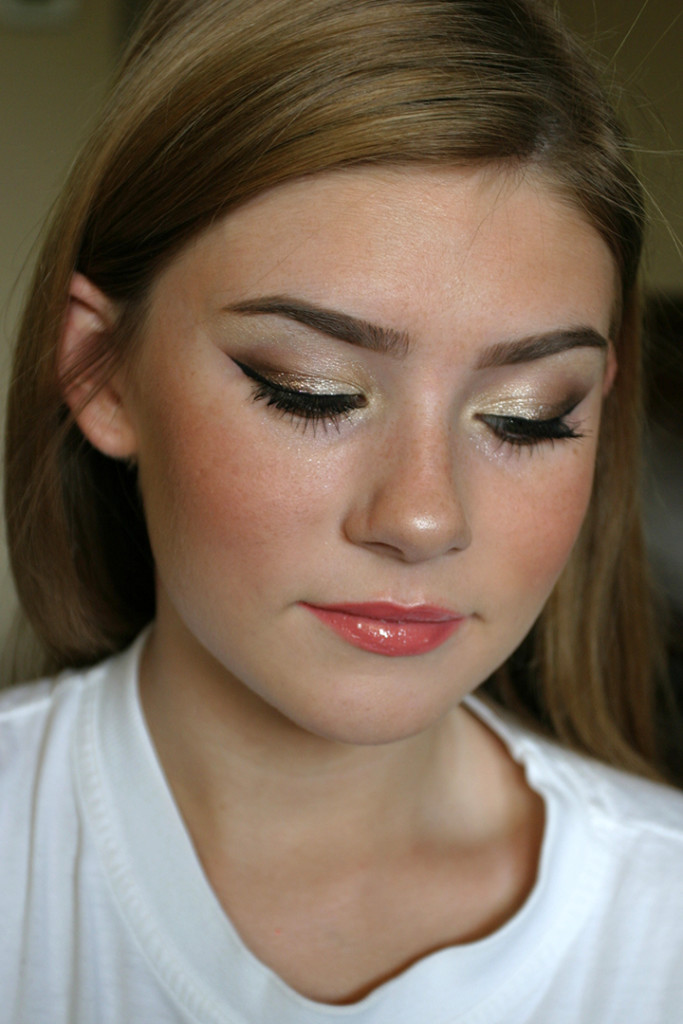
It's no secret to any of my friends that I watch makeup tutorial videos all the time, but when I see the vast collection of designer makeup brands in the videos–my jaw drops! I love spending my paycheck on makeup, but…have you seen how much some of that stuff costs?! I would have to work 24/7 and spend my entire paycheck to recreate some of those looks! So, I spend my money on the expensive items occasionally, then I use drugstore brands to recreate my favorite looks as much as possible. Here's my detailed tutorial for Glam Makeup on a Budget, so you can create a dramatic nighttime look without breaking the bank.
In this tutorial, you'll see a few expensive products, but the majority are very inexpensive. I'll also list my favorite dupes for the expensive products when I have suggestions.
You may notice I dyed my hair darker. 🙂 I did it last summer and decided to do it again a few weeks ago, because I like changing up my look!
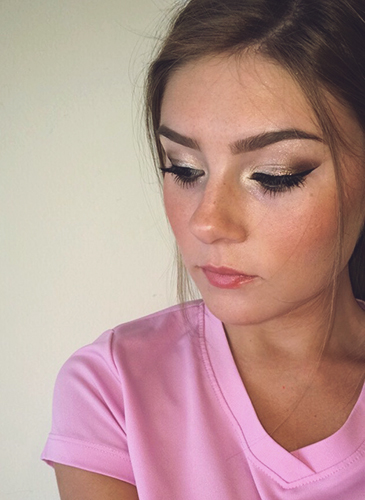
My glam makeup look for less and the darker hair color.
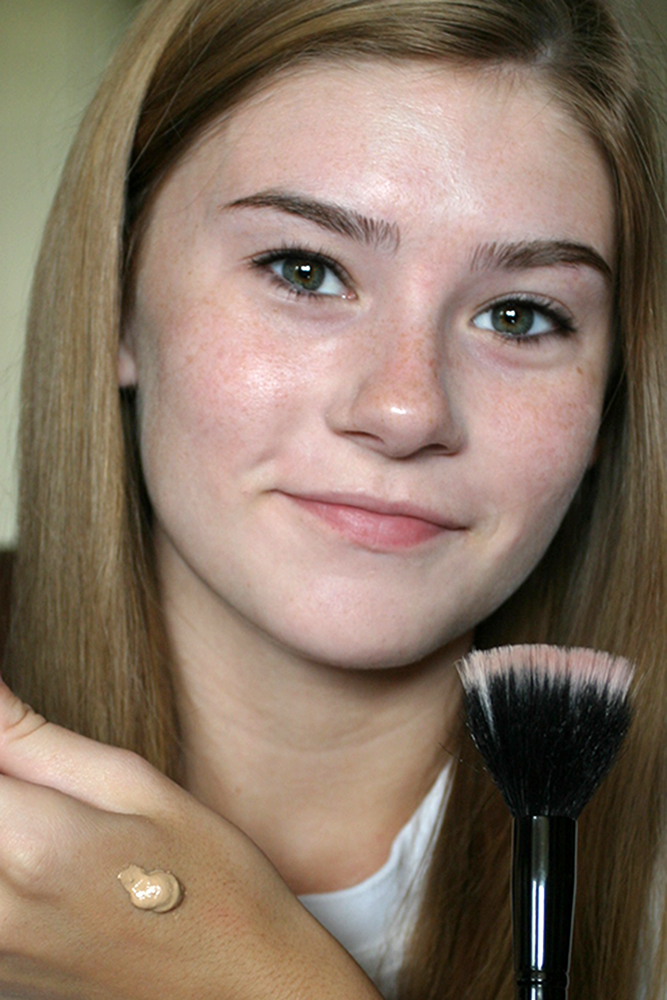
To begin, always start off with a clean, moisturized face. Believe it or not, I actually use aloe vera as a moisturizer! Next, I like to apply a tinted moisturizer, simply because I like my freckles and don't want to mask them under a heavy coverage foundation. I used Bare Minerals Complexion Rescue Tinted Hydrating Gel Cream in Buttercream and find it worth the money because it has a built-in SPF of 30. That way, I don't have to buy sunscreen, too:
I apply the Bare Minerals tinted moisturizer with a brush to get really light coverage.
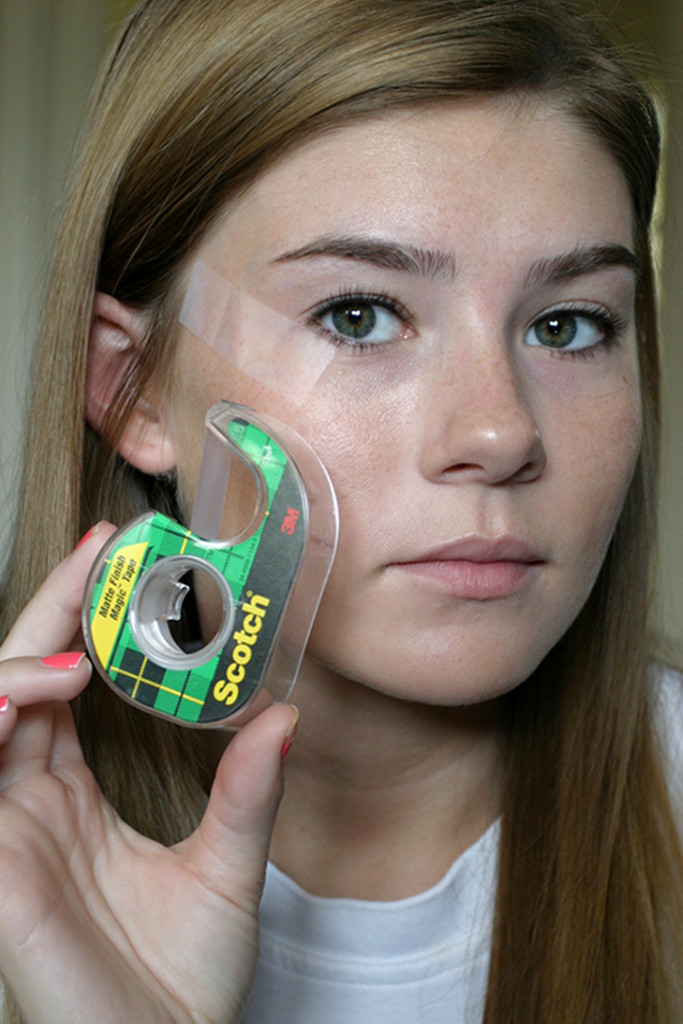
Once I've applied the gel all over my skin, I add some tape to the outer corner of my eyes. This is a great trick for those who struggle with straight lines. (I know I do!) This method will help create a beautiful, sharp cat-eye effect.
I just use regular Scotch Magic Tape to assist with the cat eye.
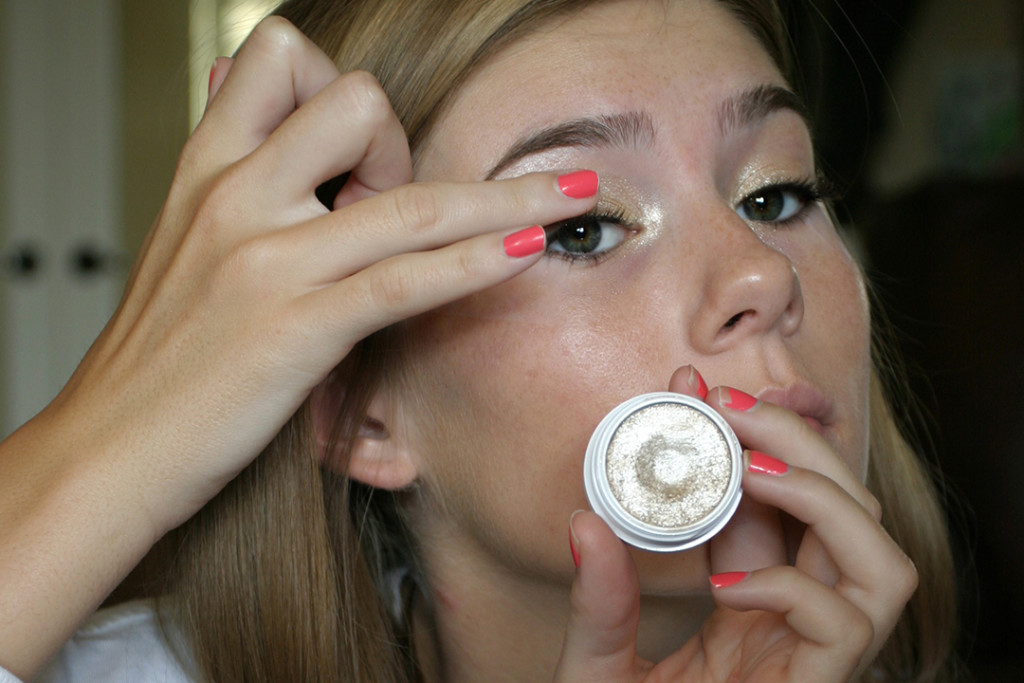
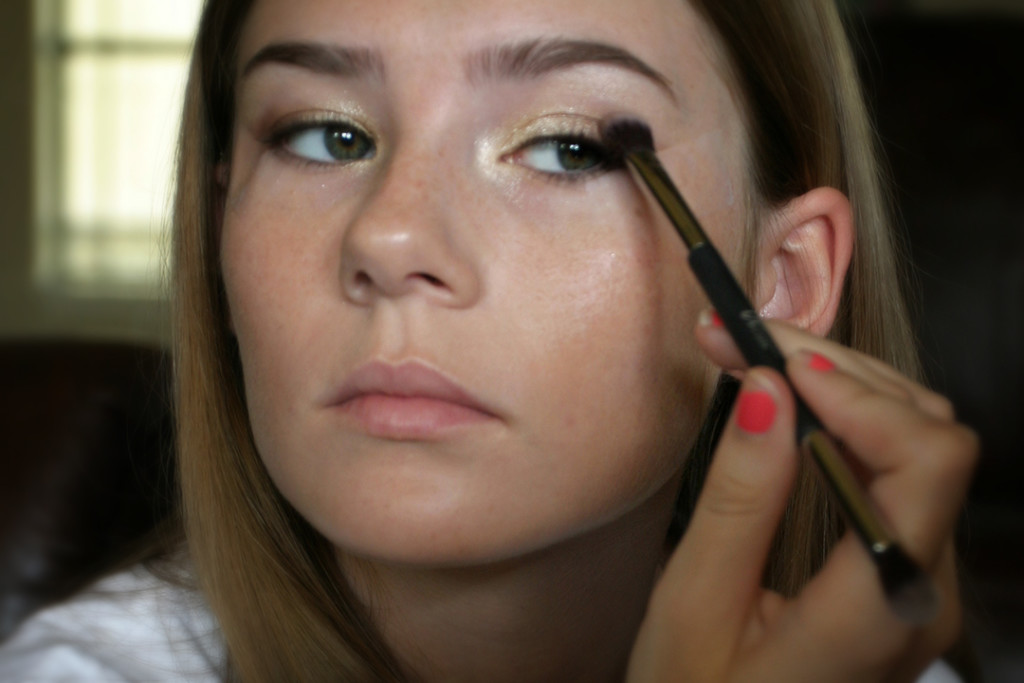
Now, I cannot even begin to express my love for my latest discovery in makeup! It is the wonder of “ColourPop Cosmetics.” Beautiful, quality products ranging from eye shadows to lipsticks–and so much more–all for only $5 per product!!! Here I'm applying the color “Fringe” to my inner corner and lid:
It's metallic. Just look at that sparkle!
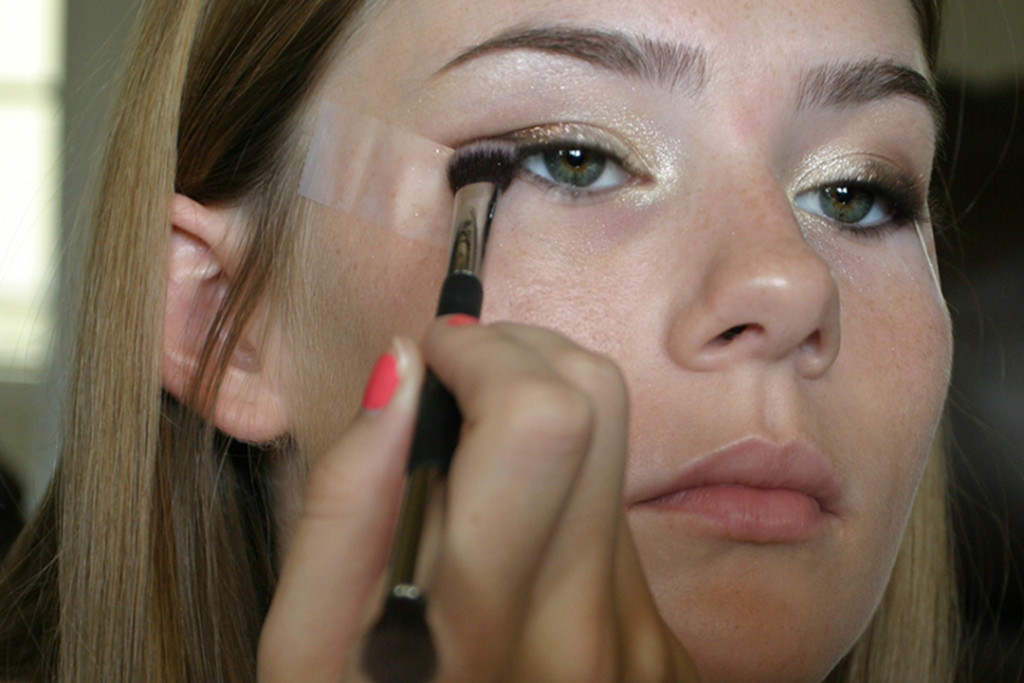
After applying “Fringe”, I'm taking a matte brown from my Wet n Wild – Comfort Zone
palette and lightly shading the outer corner of my eye. Because I have the tape placed there, I don't have to worry about making it look perfect!
Adding the Wet N Wild matte brown.
After placing the matte brown in the outer corner, I decided to add some shimmery flare over the top. I used ColourPop “Nillionaire” and placed it along the lash line (more so on the outer corner).
**Refer to my How to Apply Eyeshadow guide if you have any questions about placement.
The ColorPop eyeshadows have such fun names. I'd love to name makeup products for a living!
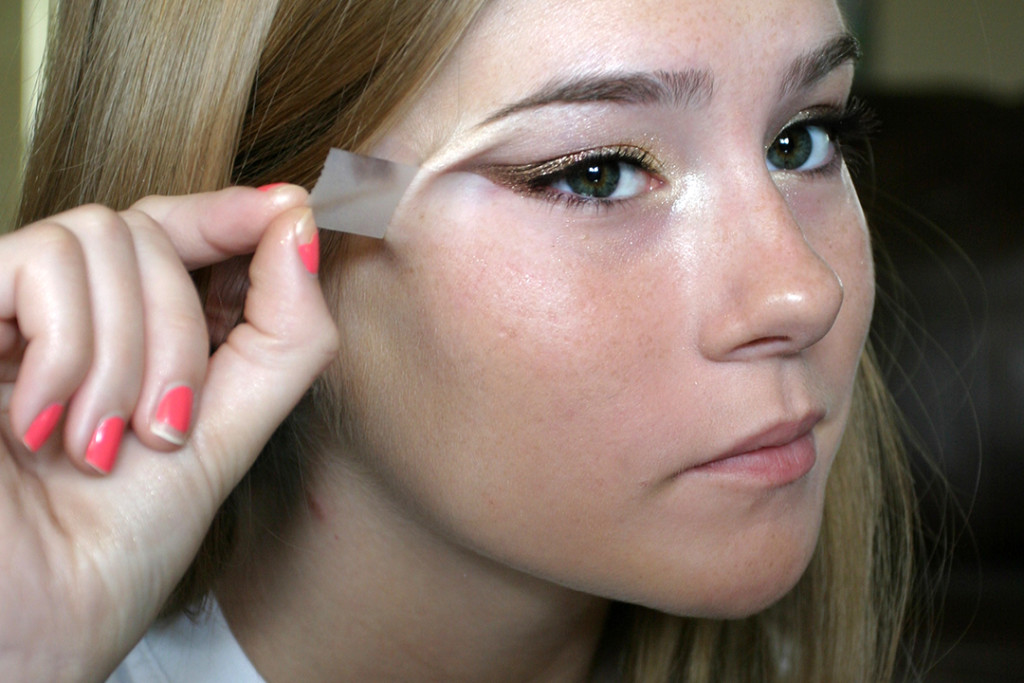
Time to take off the tape!
It may look painful here, but I promise you it's not.
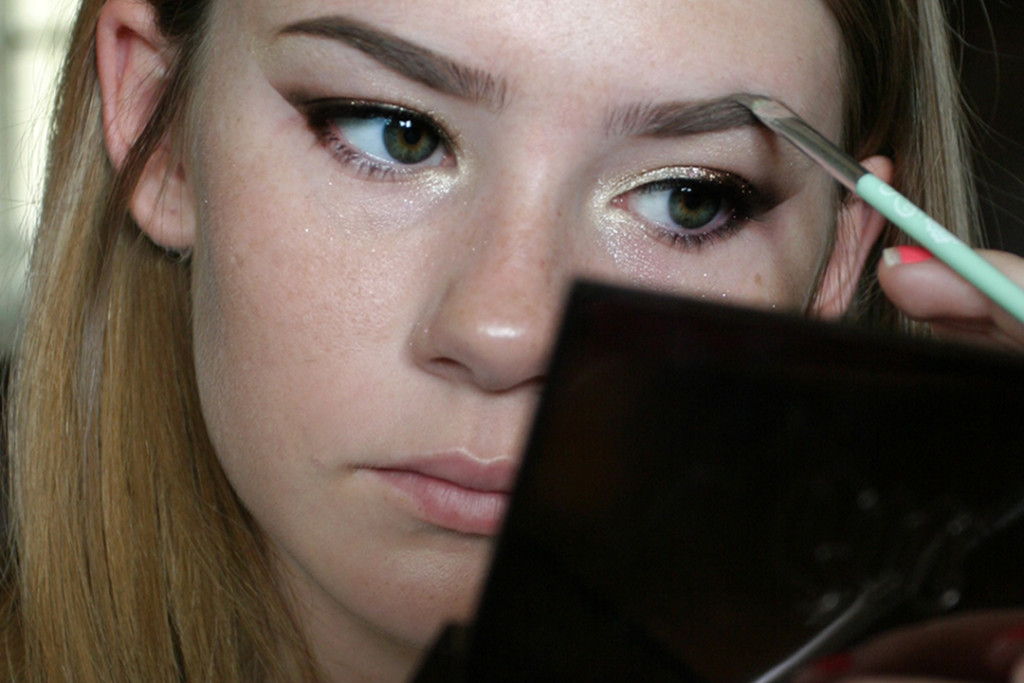
Next, I'm filling in my brows with Anastasia Dipbrow Pomade in Soft Brown. This is a more high-end product, but I find that when it comes to brows, it's worth it! I love that this color doesn't have any undertones of red, which is a re-occurring problem I've found in drugstore brow products:
Good eyebrows can make or break a look. 🙂
I'm going to take that matte brown from Wet ‘N Wild again and apply it to my lower lash line to create a more dramatic look:
Adding a little more color on the bottom.
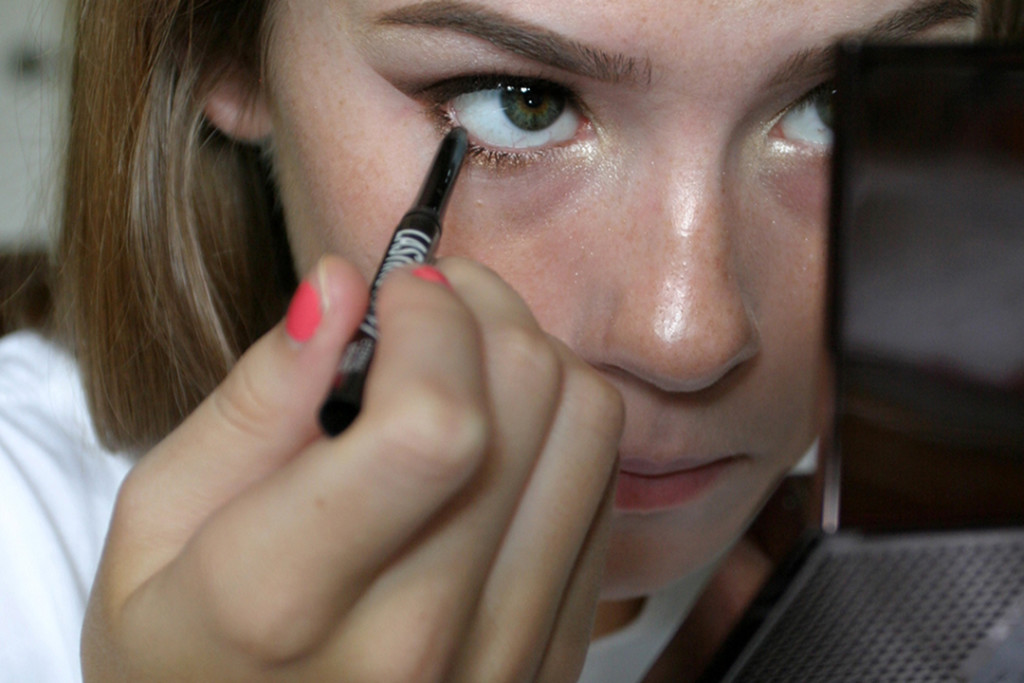
Then I'll take a dark brown pencil and place it on the water line. This is another product from Bare Minerals (Lasting Line Long-Wearing Eyeliner in Eternal Bronze), but it isn't very expensive.
Rimmel London makes an inexpensive dupe if you want to spend a little less.
Next up is the wing of the cat eye! Since I already have a line from the tape, it isn't too hard to trace over the line and get that really sharp effect. But if you still don't feel confident in your eyeliner skills, you can choose to not remove the tape until after you've applied your liner. I'm using my favorite eyeliner from the drugstore brand NYC:
Applying NYC Liquid Eyeliner in Black
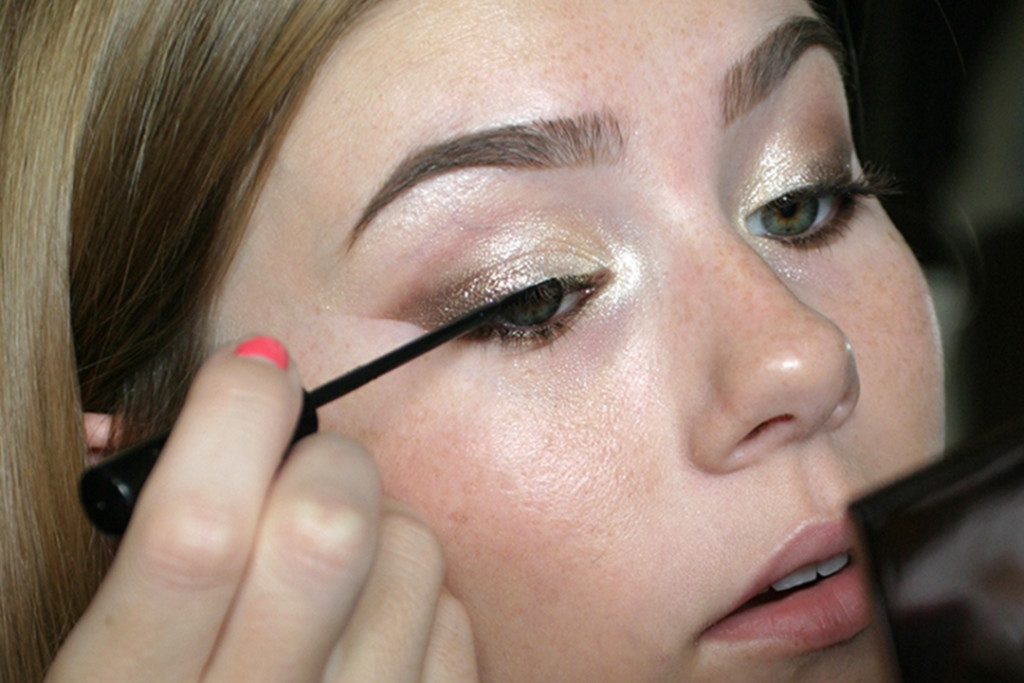
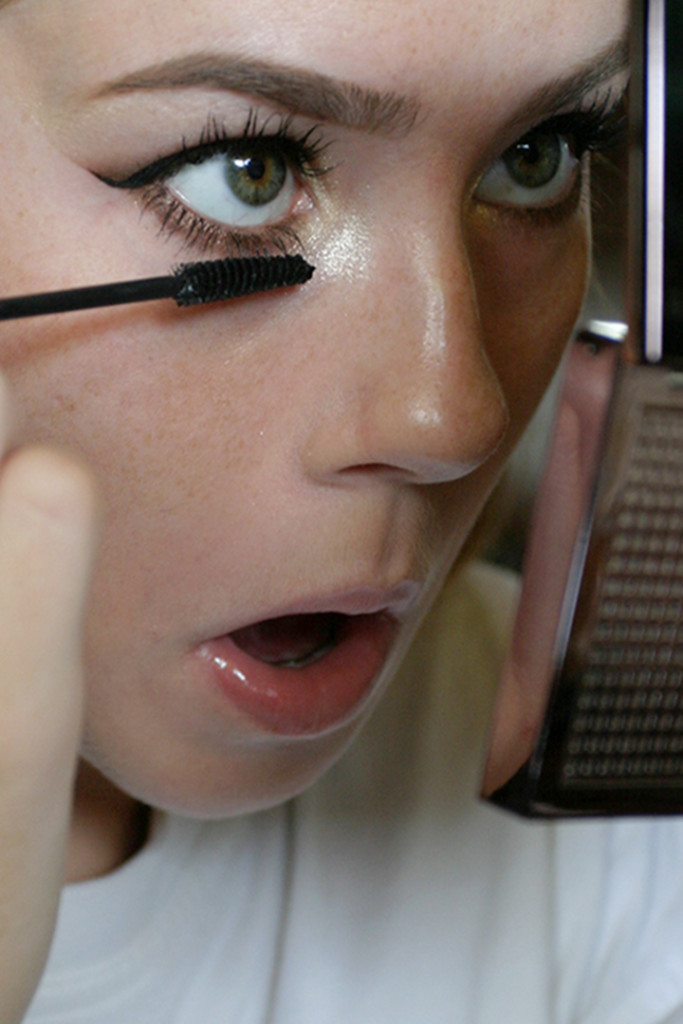
Next I'm taking the cheapest–and I do mean cheapest–yet best quality mascara I've ever tried from the drugstore (NYC Sky Rise Lengthening Mascara in Extreme Black), and I'm applying it to my upper and lower lashes.
It costs less than $5, but it's great mascara!
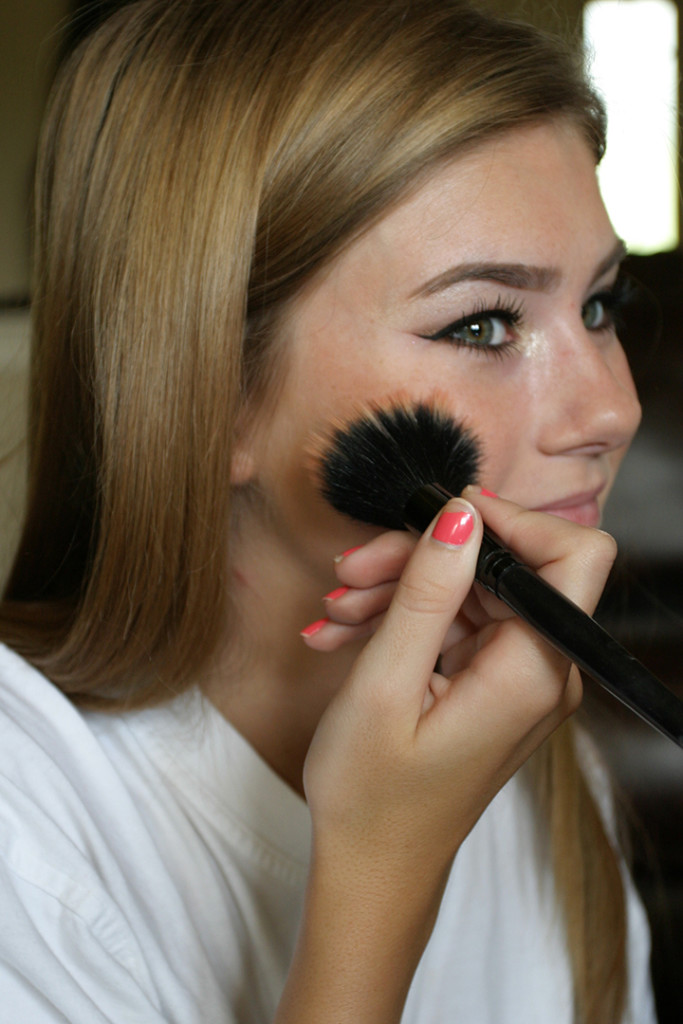
I'm applying another drugstore favorite, Essence Mosaic Powder in Sunkissed Beauty,
for an all over bronzy glow.
I almost always add a little bronzer during the summertime.
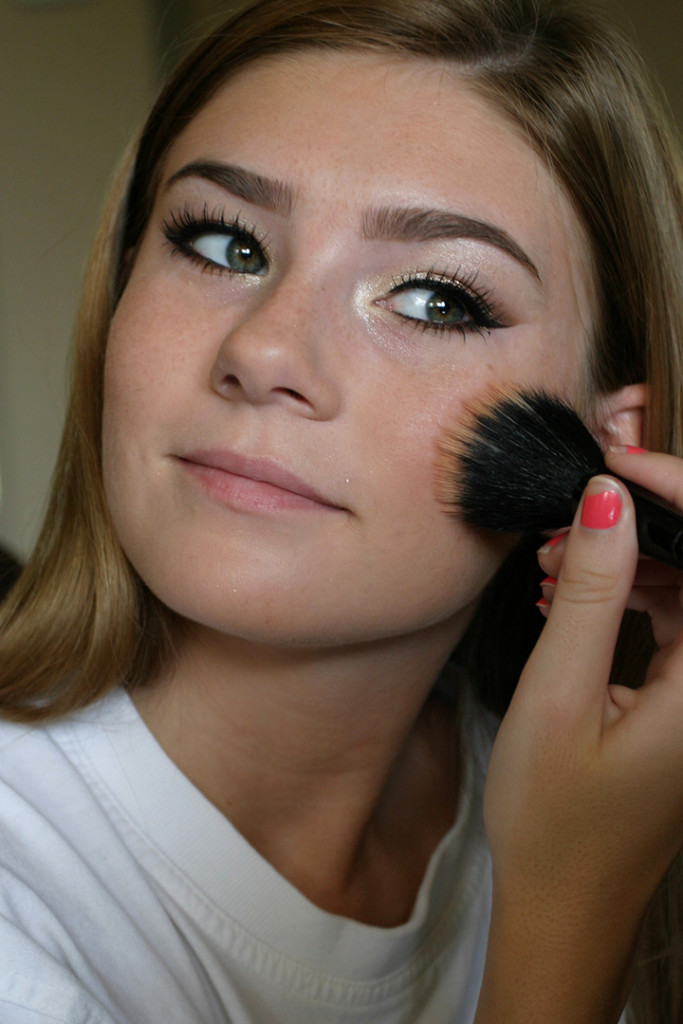
I'm also using Essence Silky Touch Blush in Babydoll and applying that to the apples of my cheeks.
Smile when you apply blush and just add it to the apples of your cheeks.
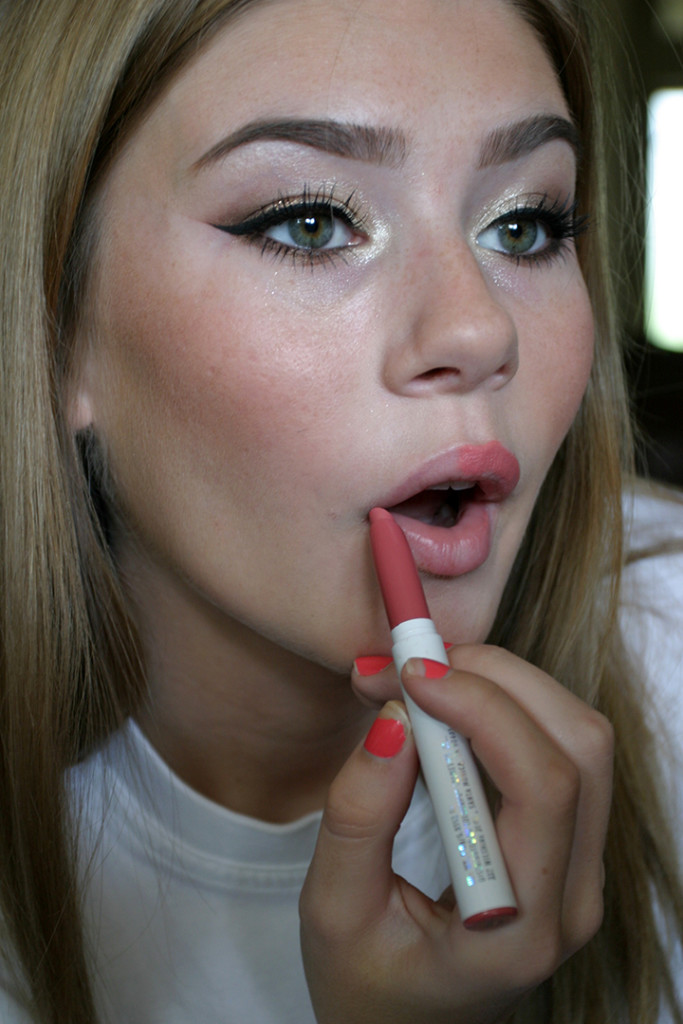
Next I'm applying my favorite lipstick from Colourpop in the shade “Frida”:
This is my new favorite “go-to” shade of lipstick.
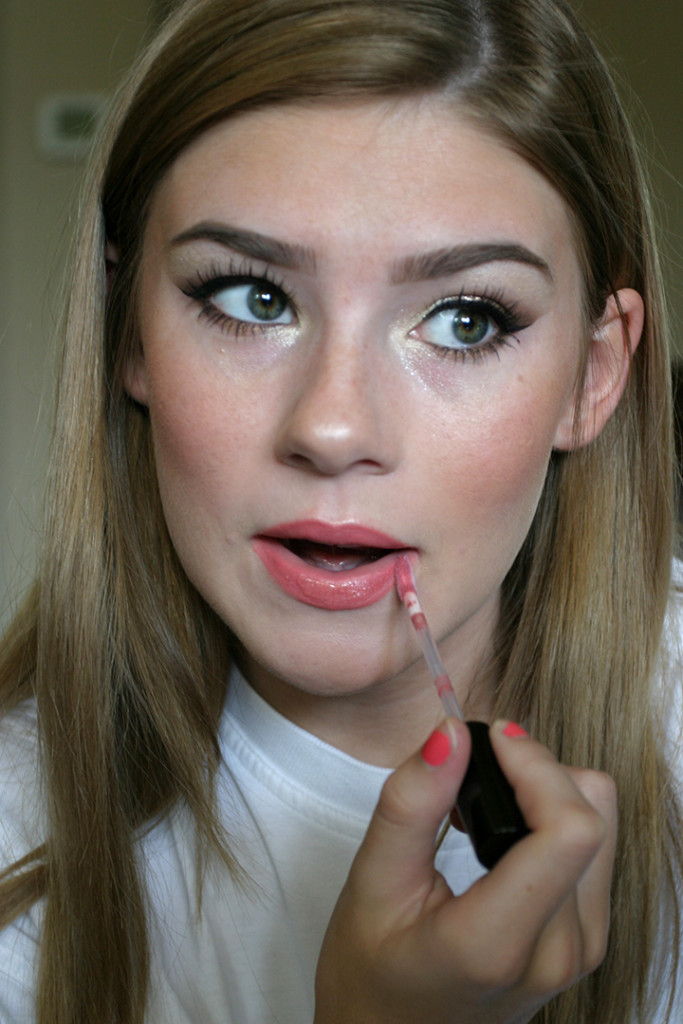
This step is optional, but I added some lipgloss to add even more sparkle to the look. I used Bareminerals Marvelous Moxie Lip Glosses in Stargazer, but that shade appears to be discontinued. You could use any clear gloss to add a bit of sparkle.
Gotta love extra sparkle!
And I'm done! let me know what you guys think of the look, and be sure to leave comments of what tutorials you want to see next!
The final makeup look.
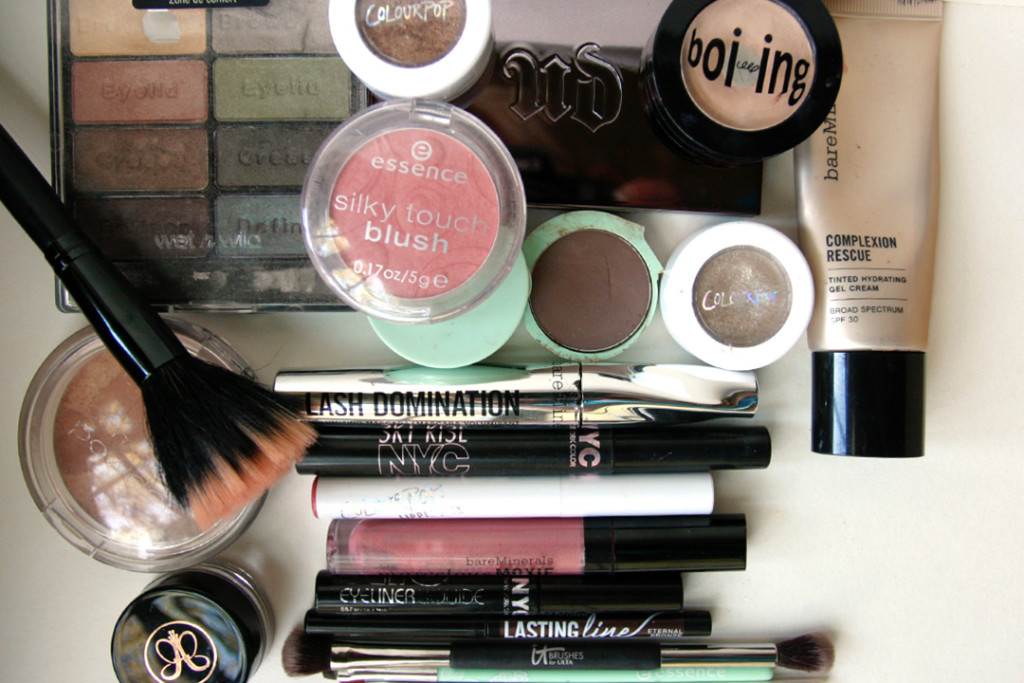
These are the makeup products I used, in case you need a reference when you're shopping in the drugstore.
You can see more of my hair and makeup tutorials here. Have a great weekend!

