Mascara is one of my favorite ways to really make my eyes pop! To me, mascara is like the holy grail of eye makeup — not only does it make your lashes darker, it also makes them appear thicker and longer. I love it so much I'd include it on my must-have beauty list if I was ever stranded on a deserted island (along with Chapstick and sunscreen). Since I get asked about my lashes pretty often, I wanted to create my best mascara tutorial that goes in-depth and includes step-by-step photos, plus all of my tips for getting great lashes.
Did you know you can apply castor oil or vaseline to your lashes overnight to keep them moist and healthy? Sometimes I'll do that, but I make sure to begin with fresh, clean lashes when I start my makeup routine. If there's oil or residue on lashes then mascara won't adhere very well.
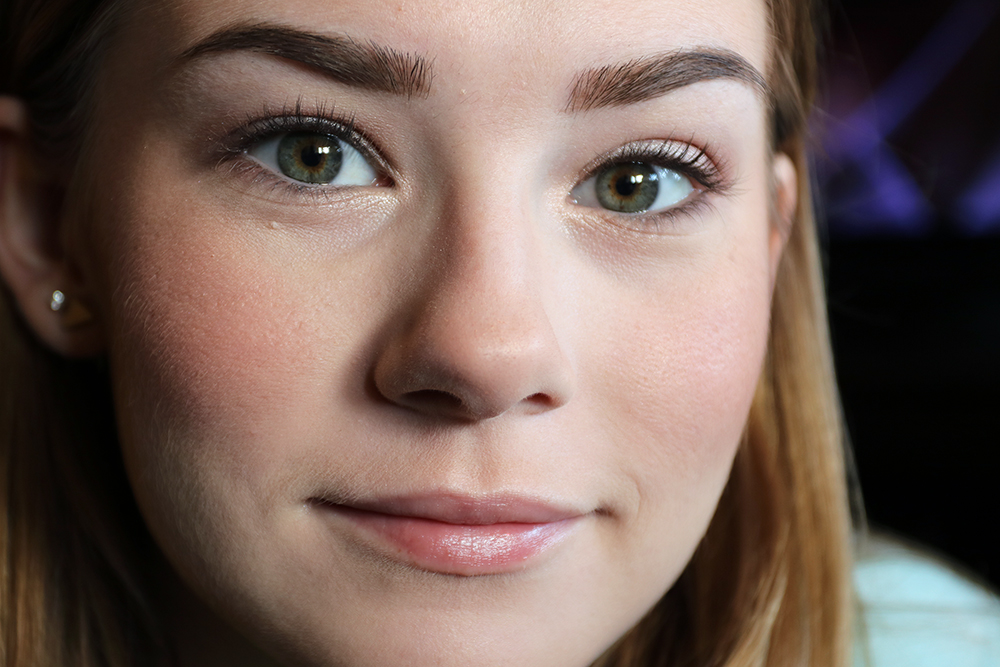
Here's a beginning shot of me with no mascara on for reference.
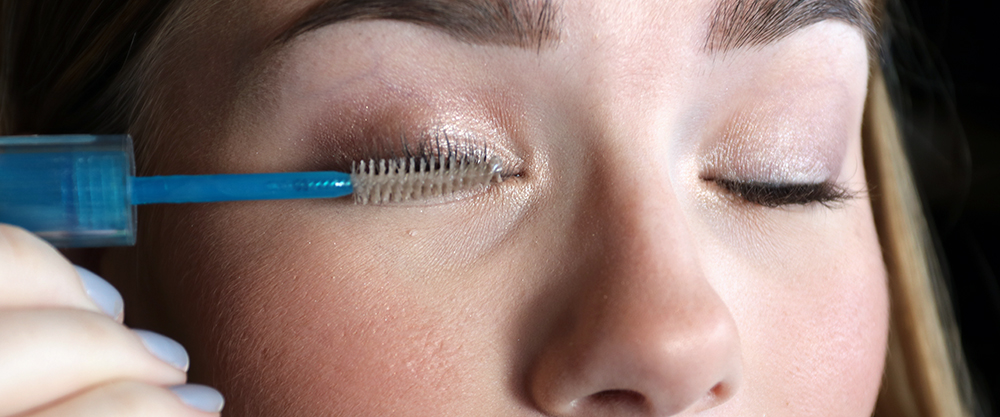
Step 1: Brush to separate lashes.
The first step to getting great lashes is to brush through them and separate all of the stray lashes that are pointing off in crazy directions. You can use an eyelash brush or a wand without any mascara on it.
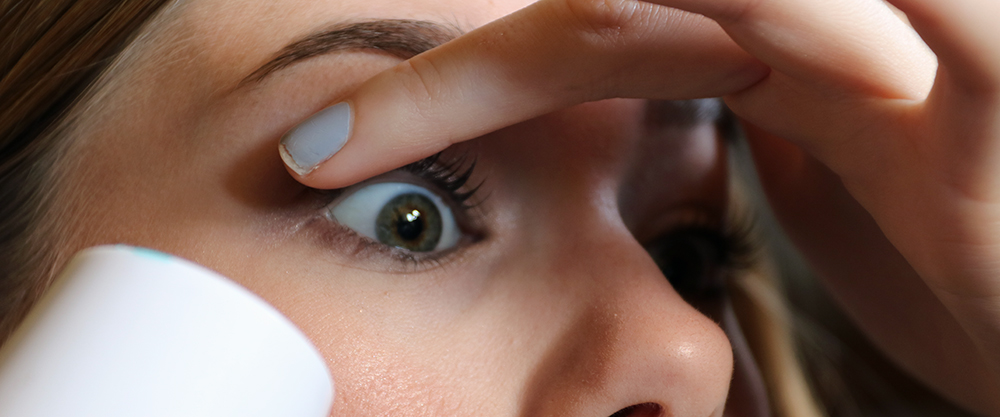
Step 2: Add heat.
Next, I use a travel-sized hair dryer on a low setting to add heat to my lashes. This step adds a bit of lift to them. I only point the heat towards them for about 20 to 30 seconds and I use a hair dryer with low wattage.
You know how you turn your head upside down and blow-dry your hair to give it more volume? That's kind of the same idea here. I warm up my lashes, and then use a lash curler on them (next step) so they'll point up more towards my eyebrows. It makes my lashes extend upward and outward more when I do this. You can skip this step, but this is my BEST mascara tutorial, so I'm including all of the steps I use when I want my lashes to look their absolute 100% best.
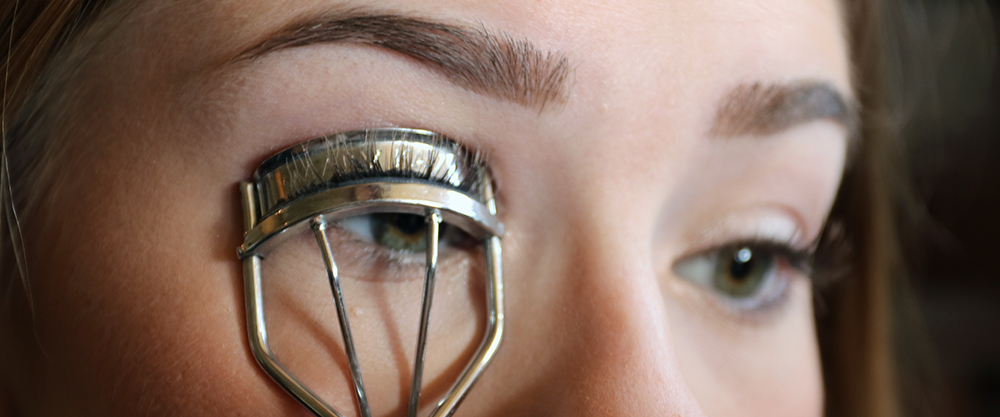
Step 3: Add curl.
When using an eyelash curler, the key is to press gently. I never use a lot of force because I don't want to ever break or damage my lashes. That's why I use the hair dryer to warm my lashes in advance – it makes them more pliable so I don't need to press too hard with the lash curler. Position the lash curler close to the base of your lashes and then gently squeeze and hold the squeeze for 5 to 10 seconds.
TIP: Makeup residue will stick to your lashes and could potentially pull or damage them, so a clean lash curler is important. Wipe it down with baby oil on a cotton ball and then dry it with a tissue or paper towel. For the same reason, never curl your lashes when you have mascara or product on them.
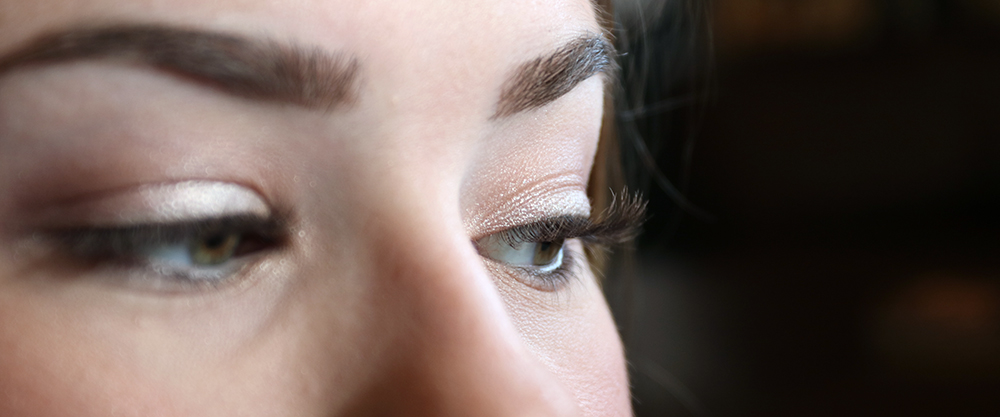
Here's a shot of my lashes from the side after I've curled them so you can see how they bend upwards more towards my brows.
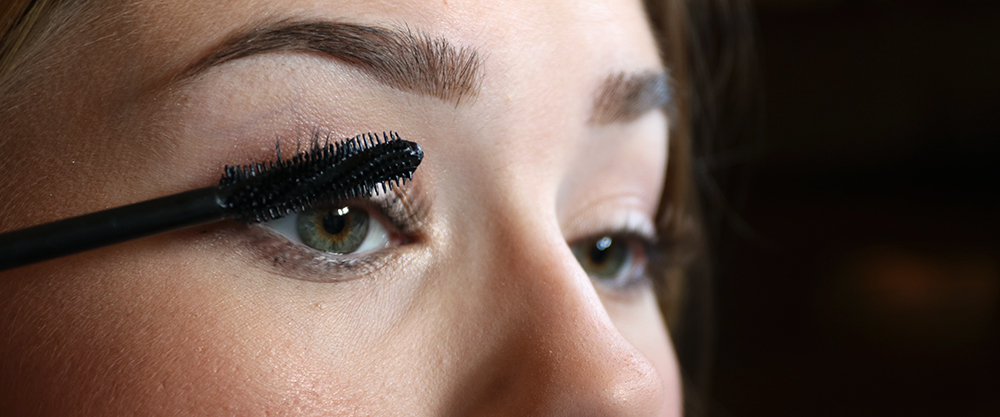
Step 4: Add the 1st coat of mascara.
When I add a coat of mascara to my top lashes, the first brush I use is one that tends to deposit a lot of mascara so I can get really thick coverage. One of my all-time favorite mascaras is by Bare Minerals. I love it because it deposits a lot of color on my lashes and makes them look really dark!
TIP: Never pump the wand in and out of the bottle because this pushes air into the tube and will cause the mascara to dry out faster. Just twist the wand in a circular motion inside the bottle to deposit extra color on the wand.
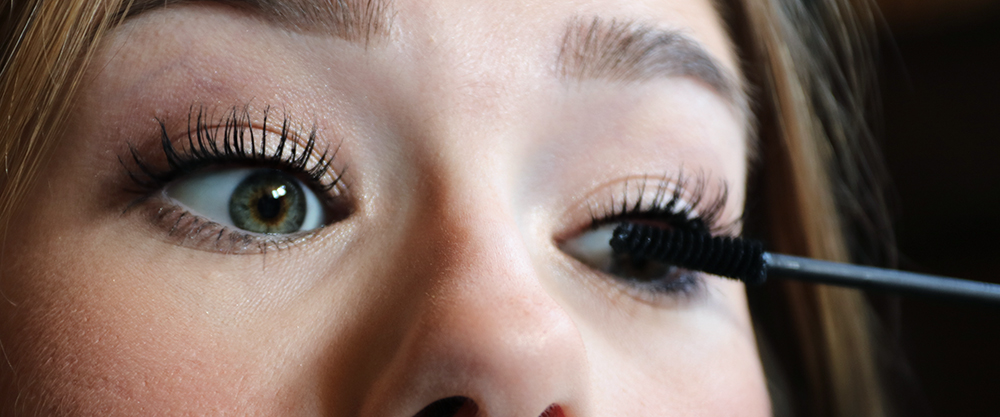
Step 5: Add the 2nd layer of mascara.
For the second coat of mascara, I switch to a brand with a thinner wand that helps to separate my lashes and coats the sides of each lash a little better (I'm using NYC here).
You can also add color to the back side of your lashes during this step, if needed. I only think that's necessary if you've used a light/glittery eyeshadow and the pigment fell on the backs of your lashes, because a light coat of mascara on the back is good for covering that up.
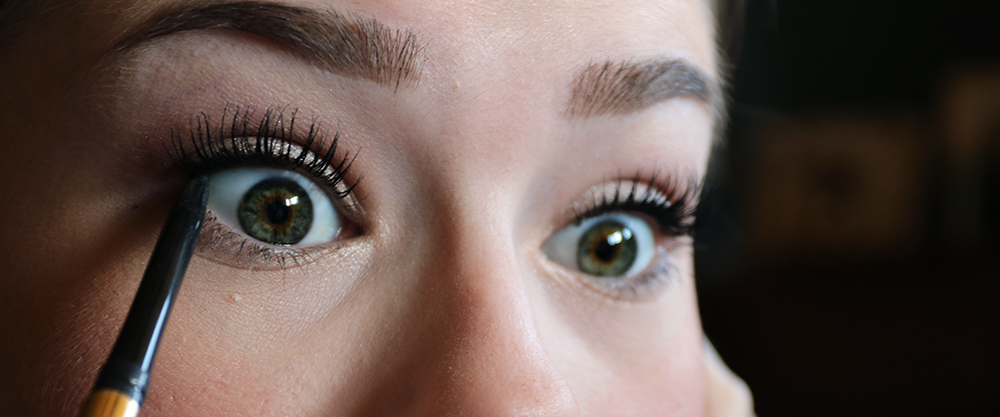
Step 6: Tightline.
This next step is called tightlining and it's when you add liner to the waterline on your upper or lower lids. That's the area between the base of your lashes and your actual eyeball (the flat little area where your tears build up before they spill out of your eyes.)
When you add liner there, it makes the base of your lashes look thicker. I tightline the top and bottom waterlines.
TIP: You can see my diagram to learn about all of the eye parts and common makeup terms here.
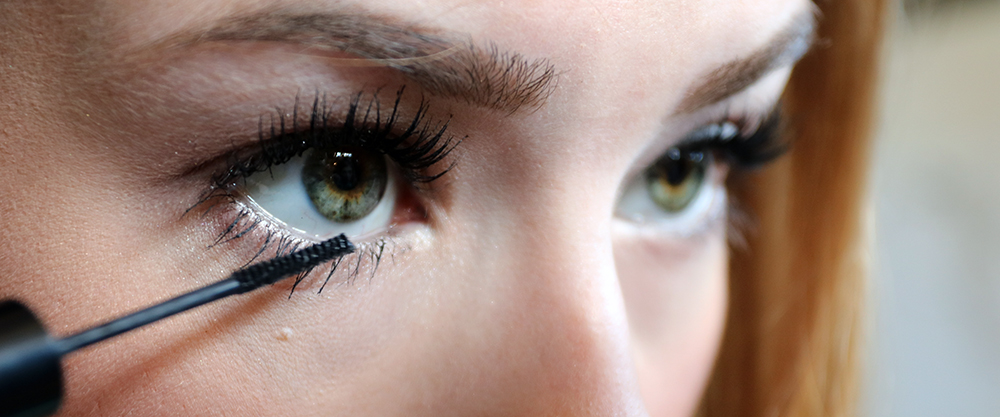
Step 7: Add mascara to the bottom.
The final step is to add mascara to the bottom lashes. I love using The Skinny Mascara from NYX for my bottom lashes, because the wand is really tiny and it allows me to reach each of my lower lashes individually. If you have an eyelash comb, brush through lashes to get rid of any stubborn clumps.
TIP: If you have trouble with smudges of mascara getting on your skin, you can place a credit card or thin sheet of paper between your lashes and skin while you're applying color.
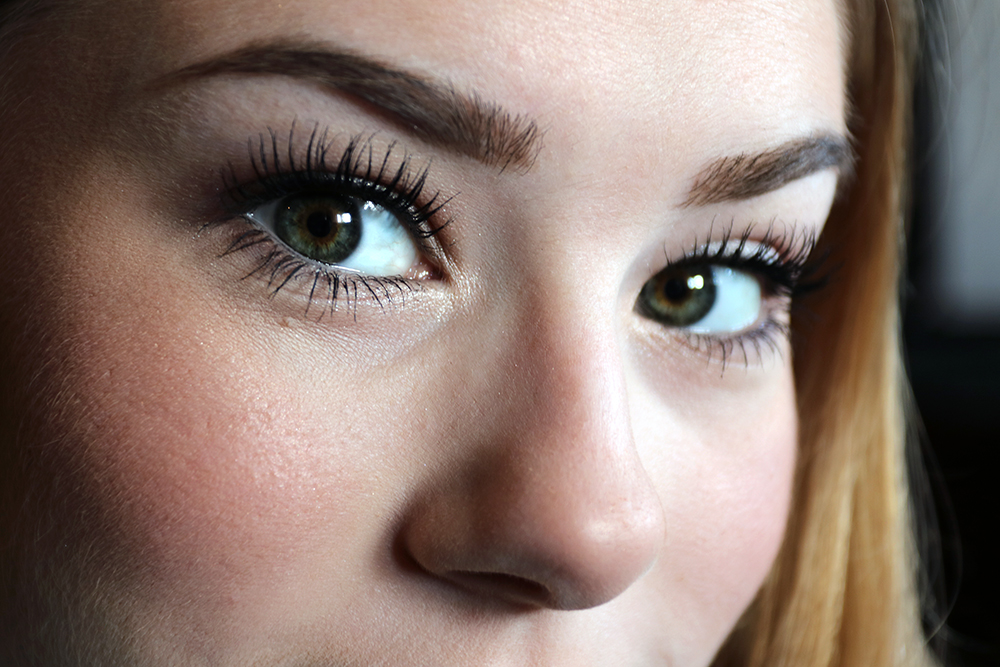
Here's a close-up of the end result!
Mascara: Bare Minerals Lash Domination in Intense Black | NYC Sky Rise Lengthening Mascara in Extreme Black | NYX The Skinny Mascara in TSM01 Black/Noir Eyeliner: Milani Supreme Kohl Kajal Eyeliner in Blackest Black
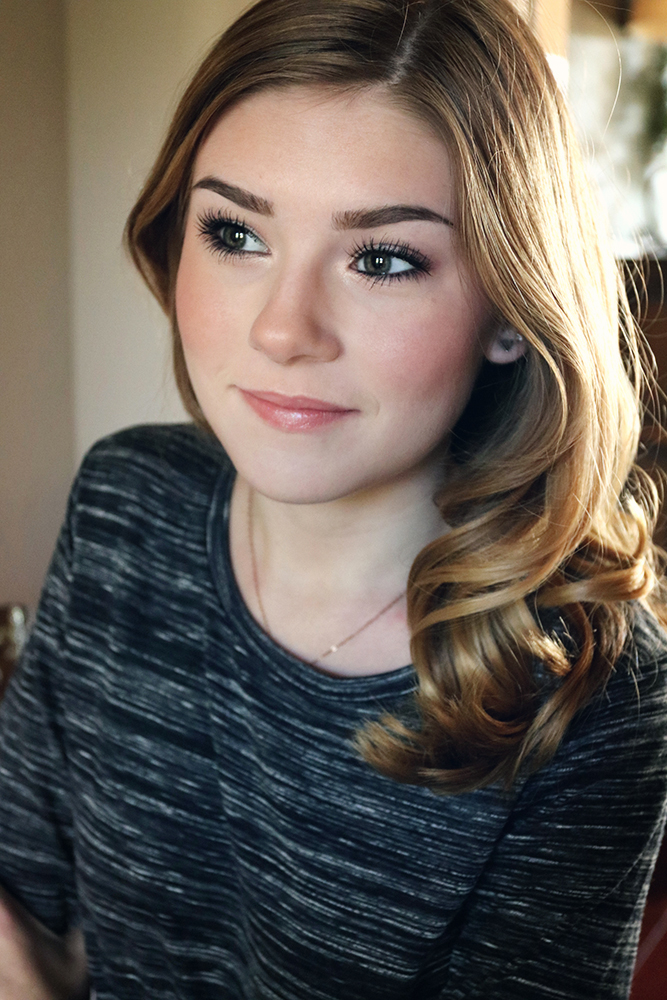
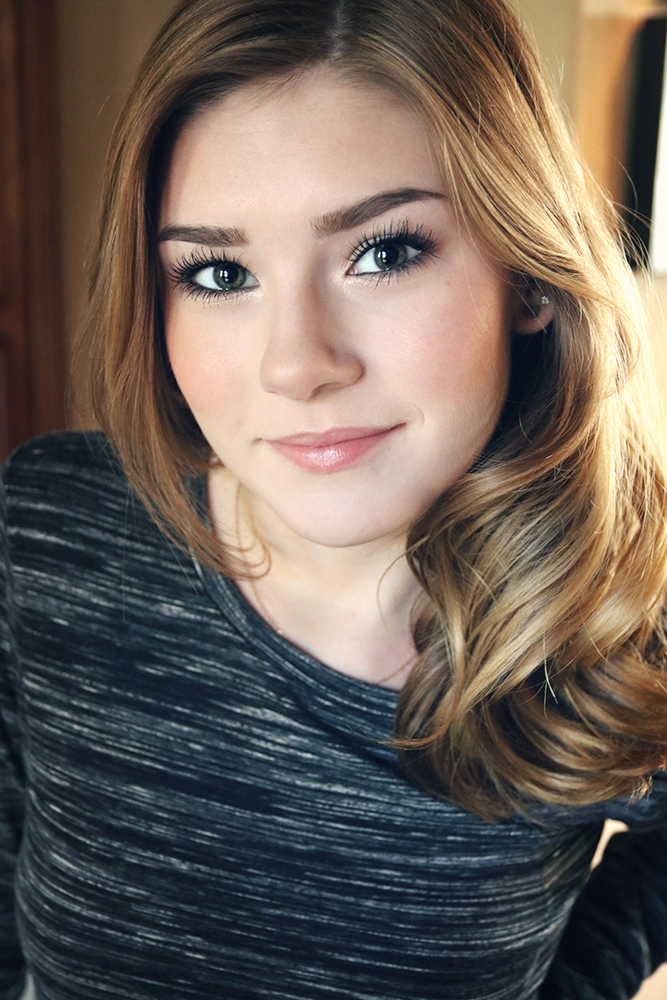
I hope my tips help! If you have any questions, just let me know in the comments. I have another great tutorial here that teaches how to use lash fibers to add amazing length to your lashes, and you can see all of my makeup tips by clicking on the beauty tab at the top of the page.

PINTEREST | INSTAGRAM | YOUTUBE
Daisy,
Your makeup tutorials are the best!!!! I want to be a makeup artist someday when I’m out of school, and I find your utorials so helpful xo
Jackie
Thanks Jackie! I do, too! It’s such a fun job. PS: My latest YouTube addiction is watching the Ambush Makeovers on the Today Show because it’s so fun to see how excited the people get when their makeovers are revealed. Sometimes they even cry or their family will cry. It’s so sweet!! Have you ever seen them?
You’re right Daisy! The Ambush makeovers are really great, at least the ones I’ve seen. Tge kinda remind me of the makeovers they used to do on “What not to Wear” but those were clothes & hair too. But Carmindy was an awesome makeup person.
I totally agree! I have no idea what I would do without mascara.
Have you tried heating up your eyelash curler with a hair dryer before curling your lashes? I find that this works better than hair drying them and it lasts lots long as well – my lashes will still look amazingly curled at the end of the day!
Hi Sophie! Thanks for stopping by! 🙂 I’ve tried both, but I’m always nervous I’m going to heat the curler too much. lol (Did you know they even make heated lash curlers that run on batteries?!) I just use the hair dryer bc that way I can tell how much heat I’m adding.
This is a great trick Daisy I can never make my eye lashes very long! I will have to try this out! <3