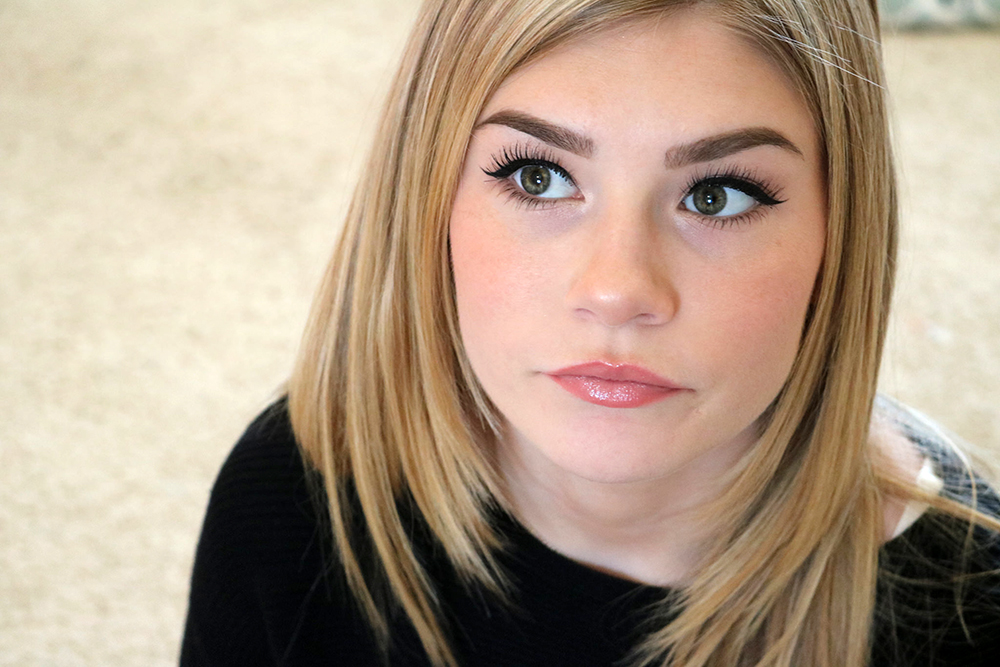
Winged eyeliner has a bad reputation of being difficult to master, but it just takes a little practice and a few handy tricks to get it right! Since the three main topics I'm asked about most often are my cat eye, my lashes, and my brows, I decided to debut my first makeup tutorial video showing how I get my cat eye! Be sure to read to the bottom of the post to get my favorite game-changing tip for a perfect wing.
Just bein' silly.
So, what do you need?
Eyeliner of your choice (I usually use liquid, but if that makes you nervous then you can opt for a pen liner), primer, Scotch Tape (optional), Mascara, Q-tips, and makeup remover
Here's my video, then I'll give you some extra tips below to help you perfect your winged liner so it looks great every time.
I had allergies when I shot this, so I sound a little stuffy. All better now, though!
Now for my additional tips
You may have noticed that I freehand my wing, but that's because I've been doing it so long that I don't feel the need for a guide anymore. (Practice really does make perfect! So there's hope for anyone who thinks winged liner is impossible.) However, if you want to use a guide, I suggest Scotch Tape angled upwards towards where your brow ends on the outer edge.
I like to first stick the tape on the back of my hand and pull it off once or twice so it loses some of the stickiness and doesn't pull on the delicate skin around my eyes too much when I remove it.
NOTE: Check out my Glam Makeup on a Budget tutorial to see how I used Scotch Tape to get a really dramatic (aka: more of an evening look) winged eye.
- Apply the liquid eyeliner as close to the lashline of your upper lashes as possible.
- Rest your pinky finger on the side of your face if you need help steadying your hand.
- If you make any mistakes you can easily fix them using a Q-tip dipped in makeup remover or concealer. If you need to be really precise with corrections, apply concealer with an angled brush along the edge of the liner to hide imperfections.
***Here comes the biggest game changer for me!***
When you're applying liquid liner with a pointy tip like the one in my video…
- Start with the slanted line side pressed against the inner corner of your eye and begin to draw your line from the inner corner to mid-way…
NOTE: If you aren't sure where to find the inner corner and other areas I reference in the video, click here to see the handy diagram I created listing all of the commonly used eye makeup application terms.
2. Now, most people usually keep going and draw the wing in the same direction from inner corner to outer corner….but I found something better…
3. Once you've gone past the midway point of your eyelid, rotate the brush so the pointed end is facing towards the outer end of your brow. (You can see me flip the liner at the 47 second mark in the video.)
It's such a simple thing, but a lot of times people don't notice the flip…and I like that it creates a really sharp point at the end of the wing. It also helps you to better determine where the wing will end. I drew a short wing in the video above, but when I create a more dramatic (longer) wing it really helps to have the liner tip facing towards the end of my brow.
You have to act calm cool and collected around liquid liner because it can sense your fear 😉 Click To TweetI always know it's going to be a good day when my wings come out even.
Products: Benefit Porefessional Primer || Stila Stay All Day Waterproof Liquid Liner in Jet Black || Bare Minerals Lash Domination Volumizing Mascara (for upper lashes) || NYX The Skinny Mascara in Black (for bottom lashes)
I hope my tips help! If you like the video, please give it a “thumbs up” on YouTube and subscribe to my channel. 🙂 I really appreciate it!
Sorry I haven't been posting as regularly here on the blog, but now you know why…I was learning how to make and edit videos! My next video is all about my everyday makeup routine, but you can post a comment below and let me know if there's anything specific you want to see. Have a great day!


